If you’re in the project furniture and office fit-out business, being able to design a functional floorplan is a skill that you likely use every single day. For that reason, we’ve made our very own interactive office designer available to our selected customers to use for free.
Create an Account
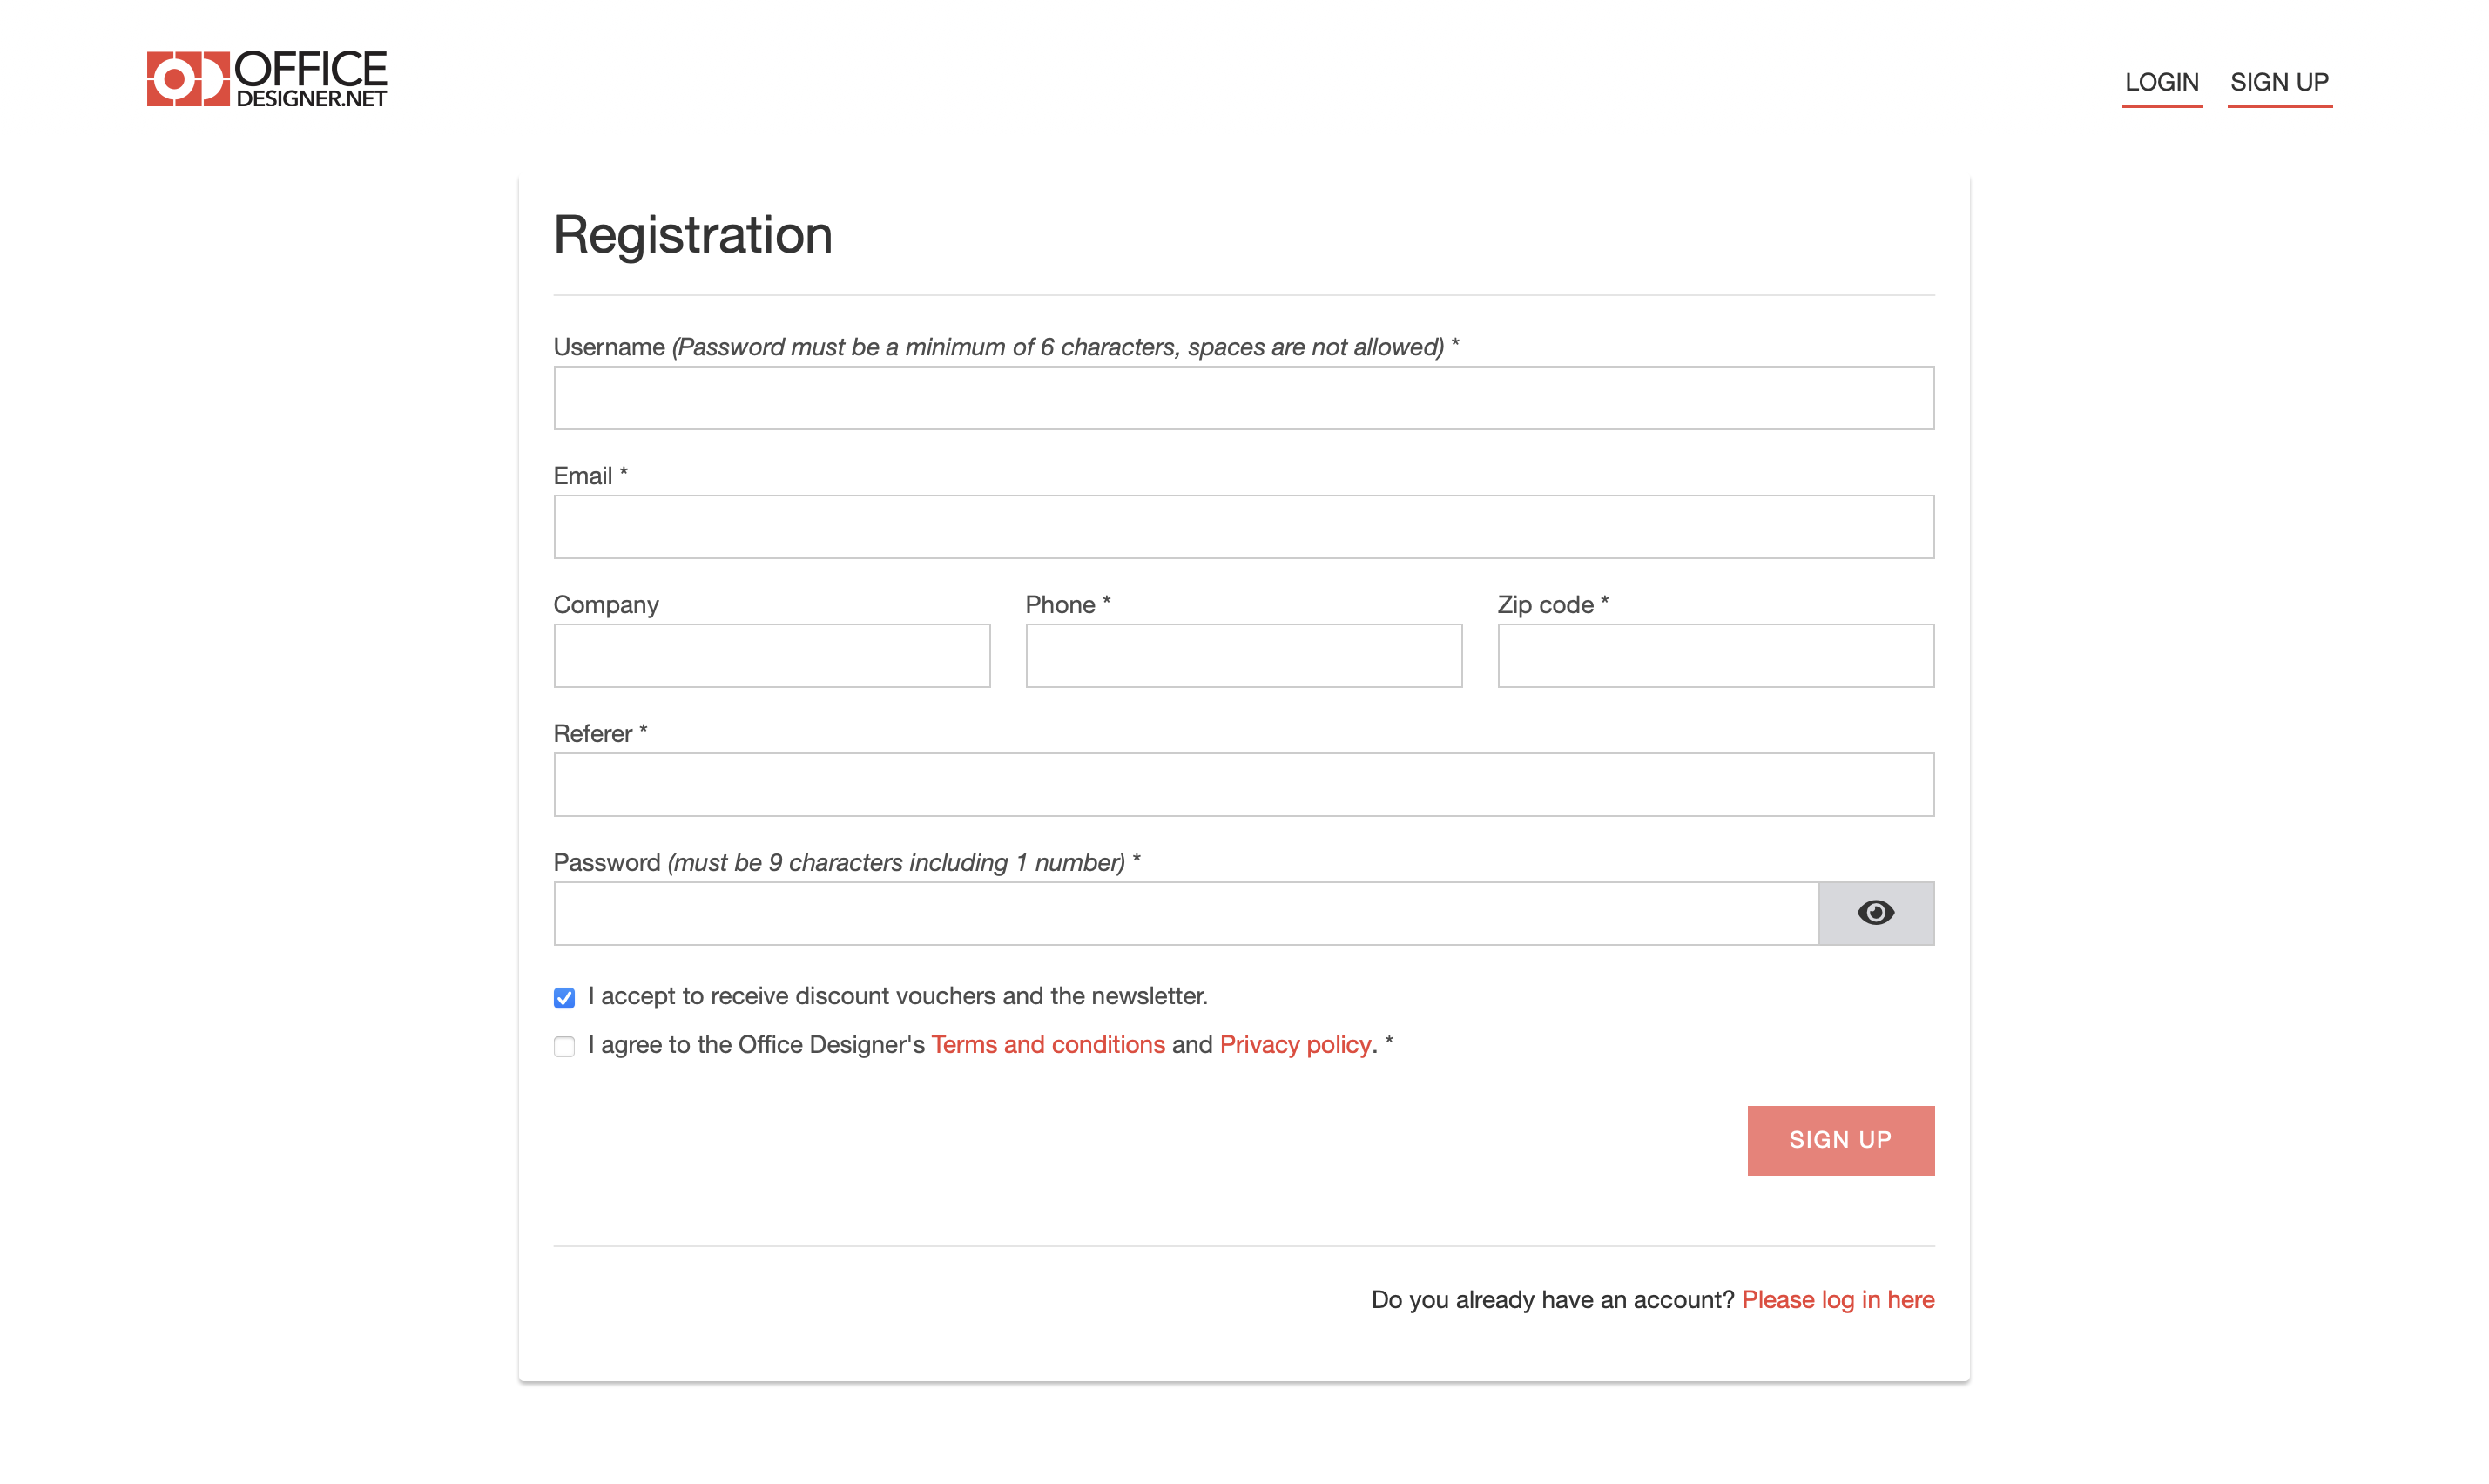
OLG’s Office Designer does require a simple sign-up to grant access. Once you’ve registered your details, one of our customer service representatives will approve and activate your account.
Use an Office Designer Template
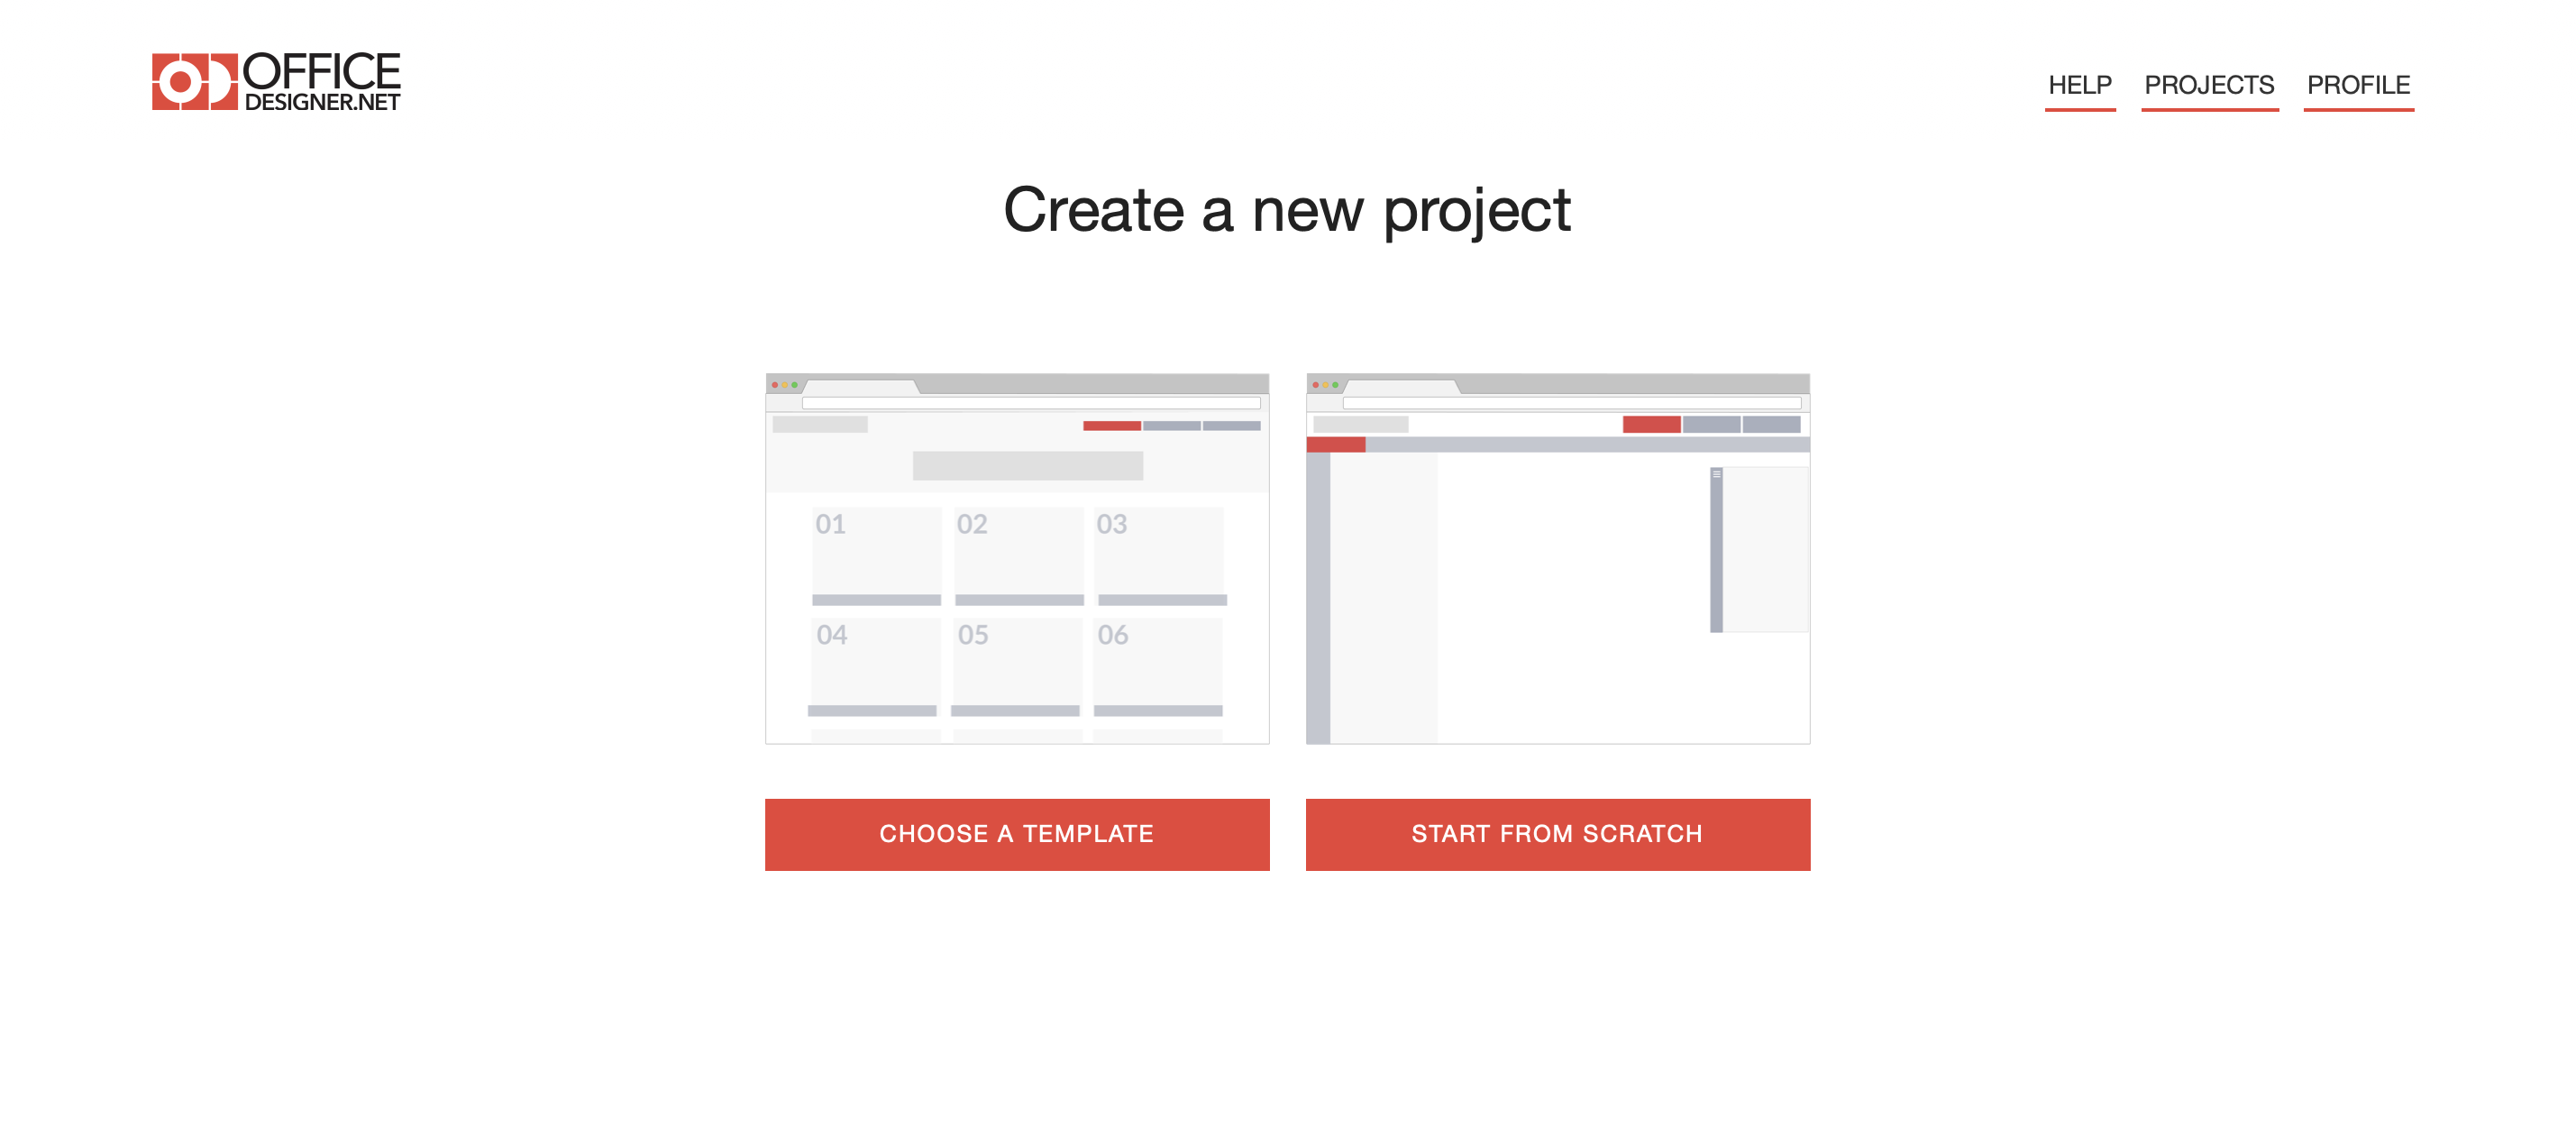
When starting a new project, you’re given two options, “Choose A Template” or “Start from Scratch”.
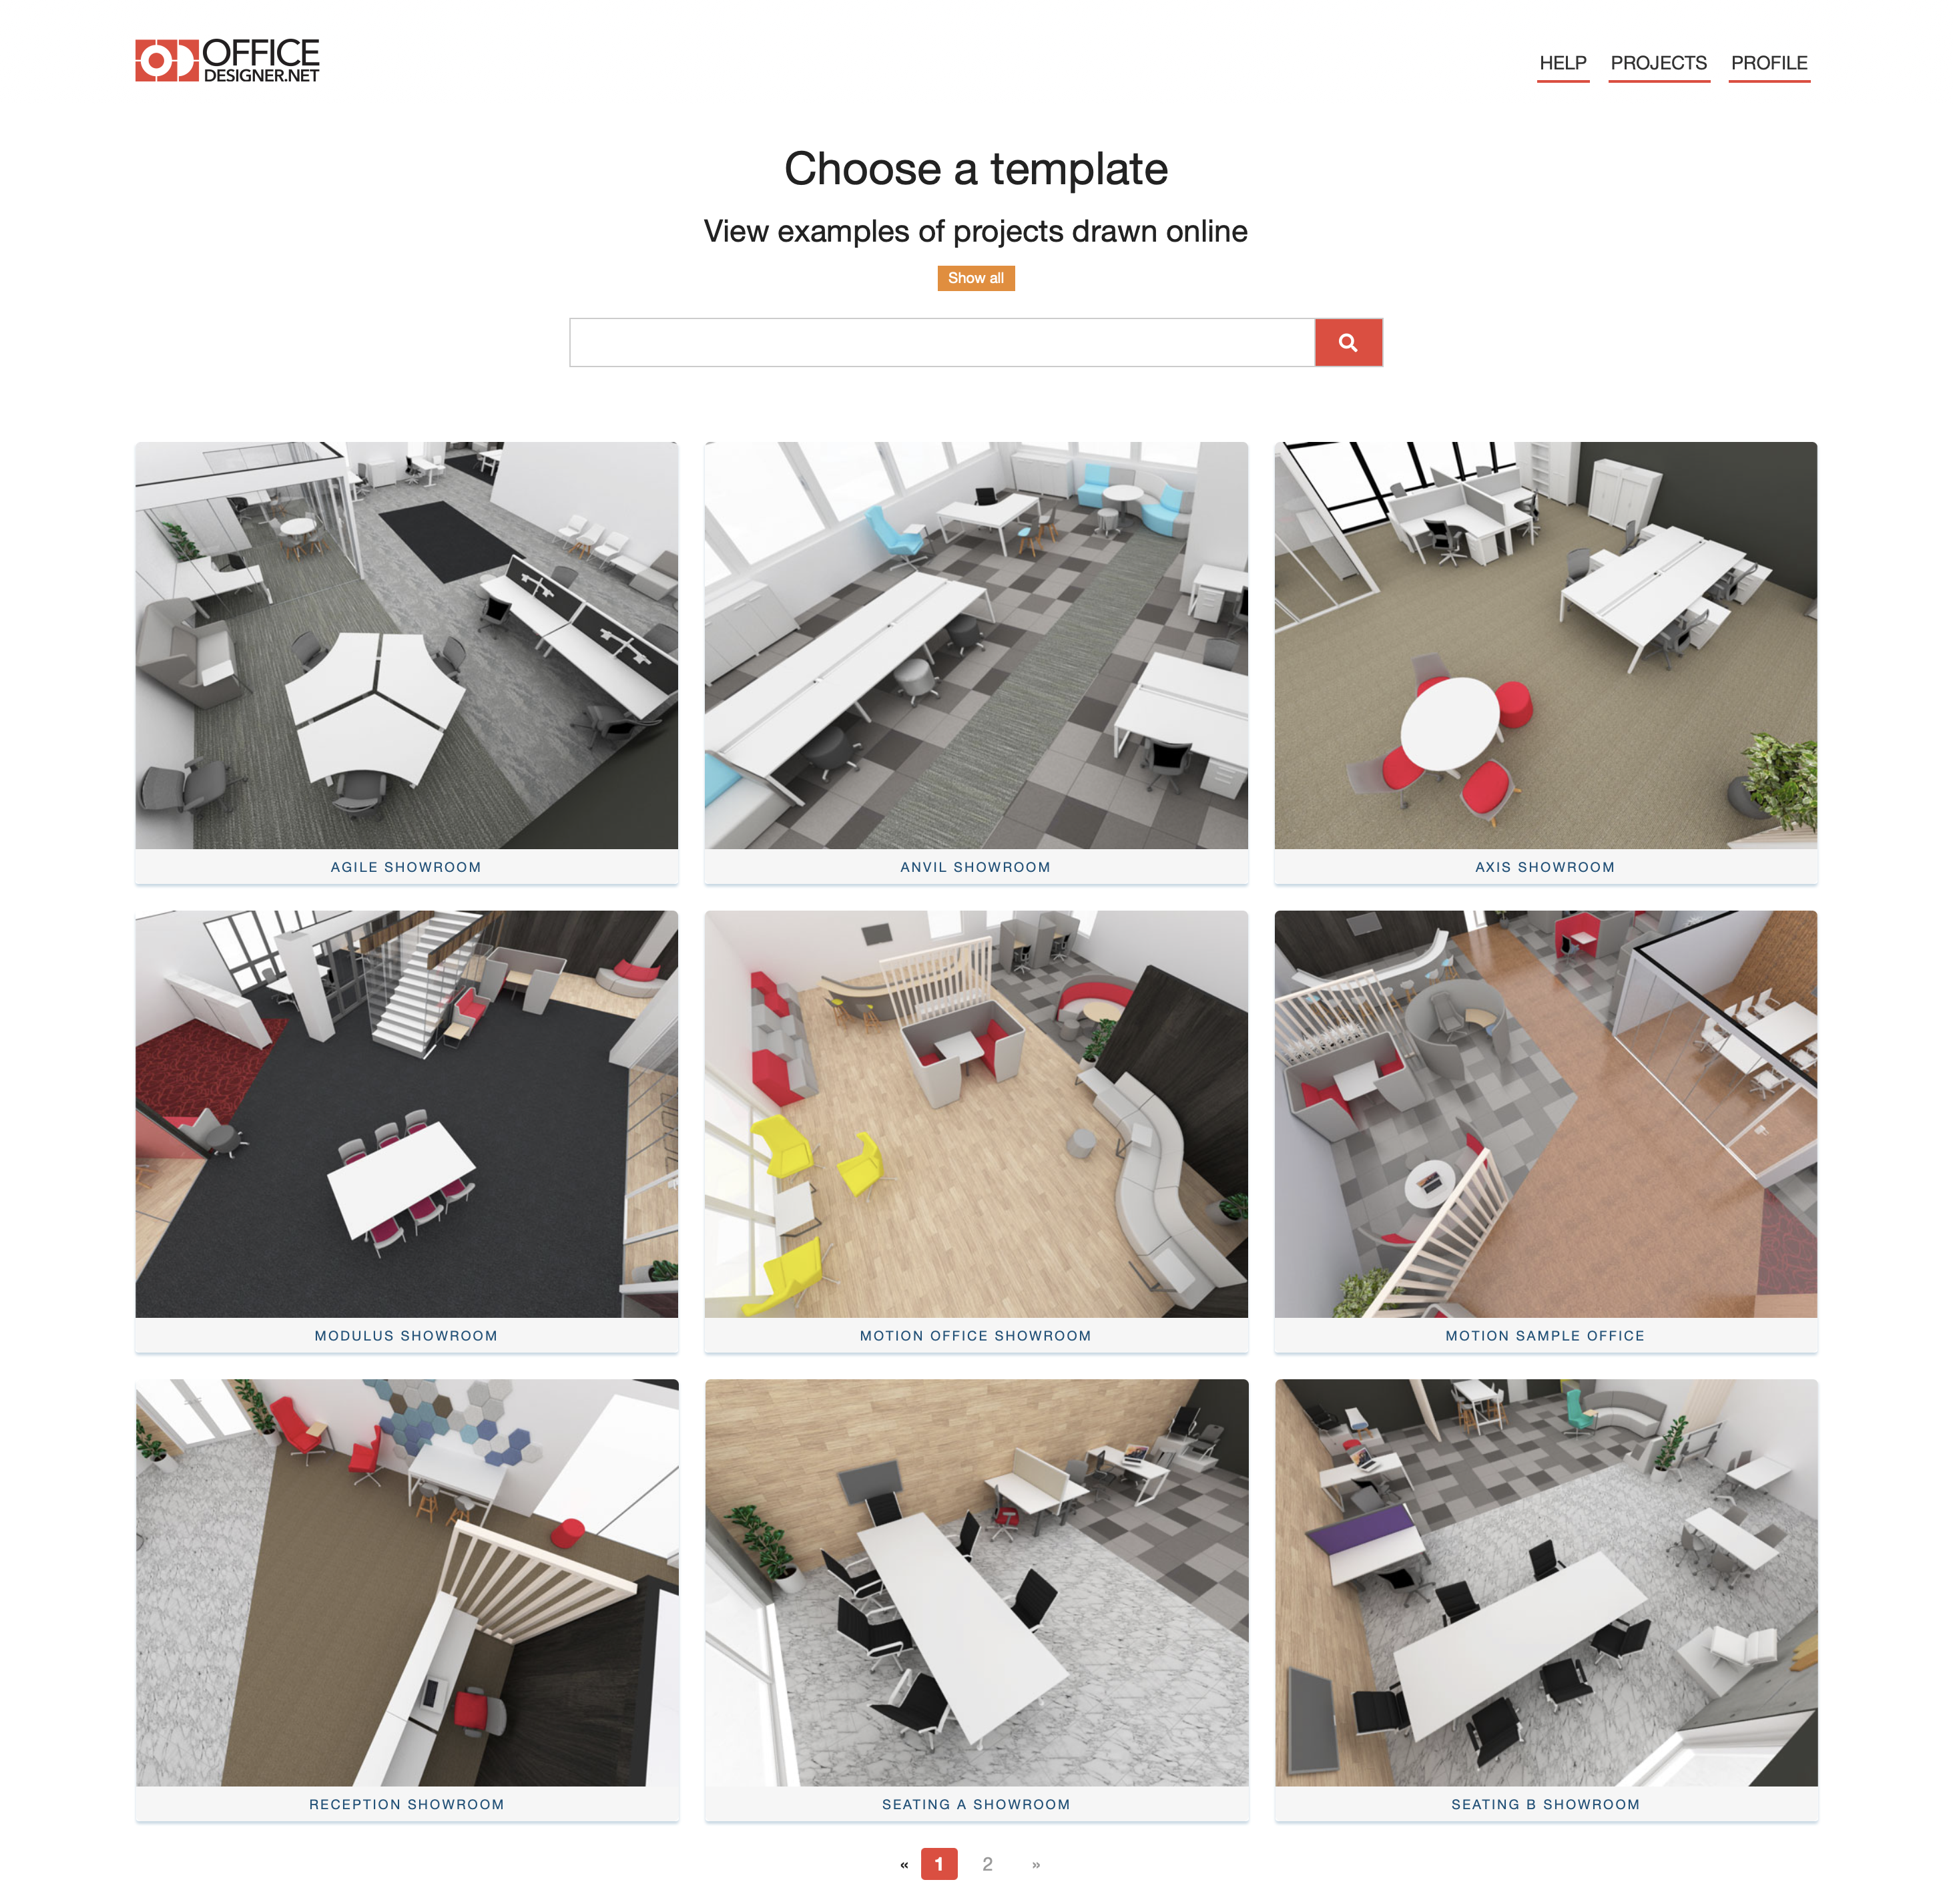
Choosing the template option will display a range of office floorplan templates, many of which have been already pre-populated with OLG office furniture.
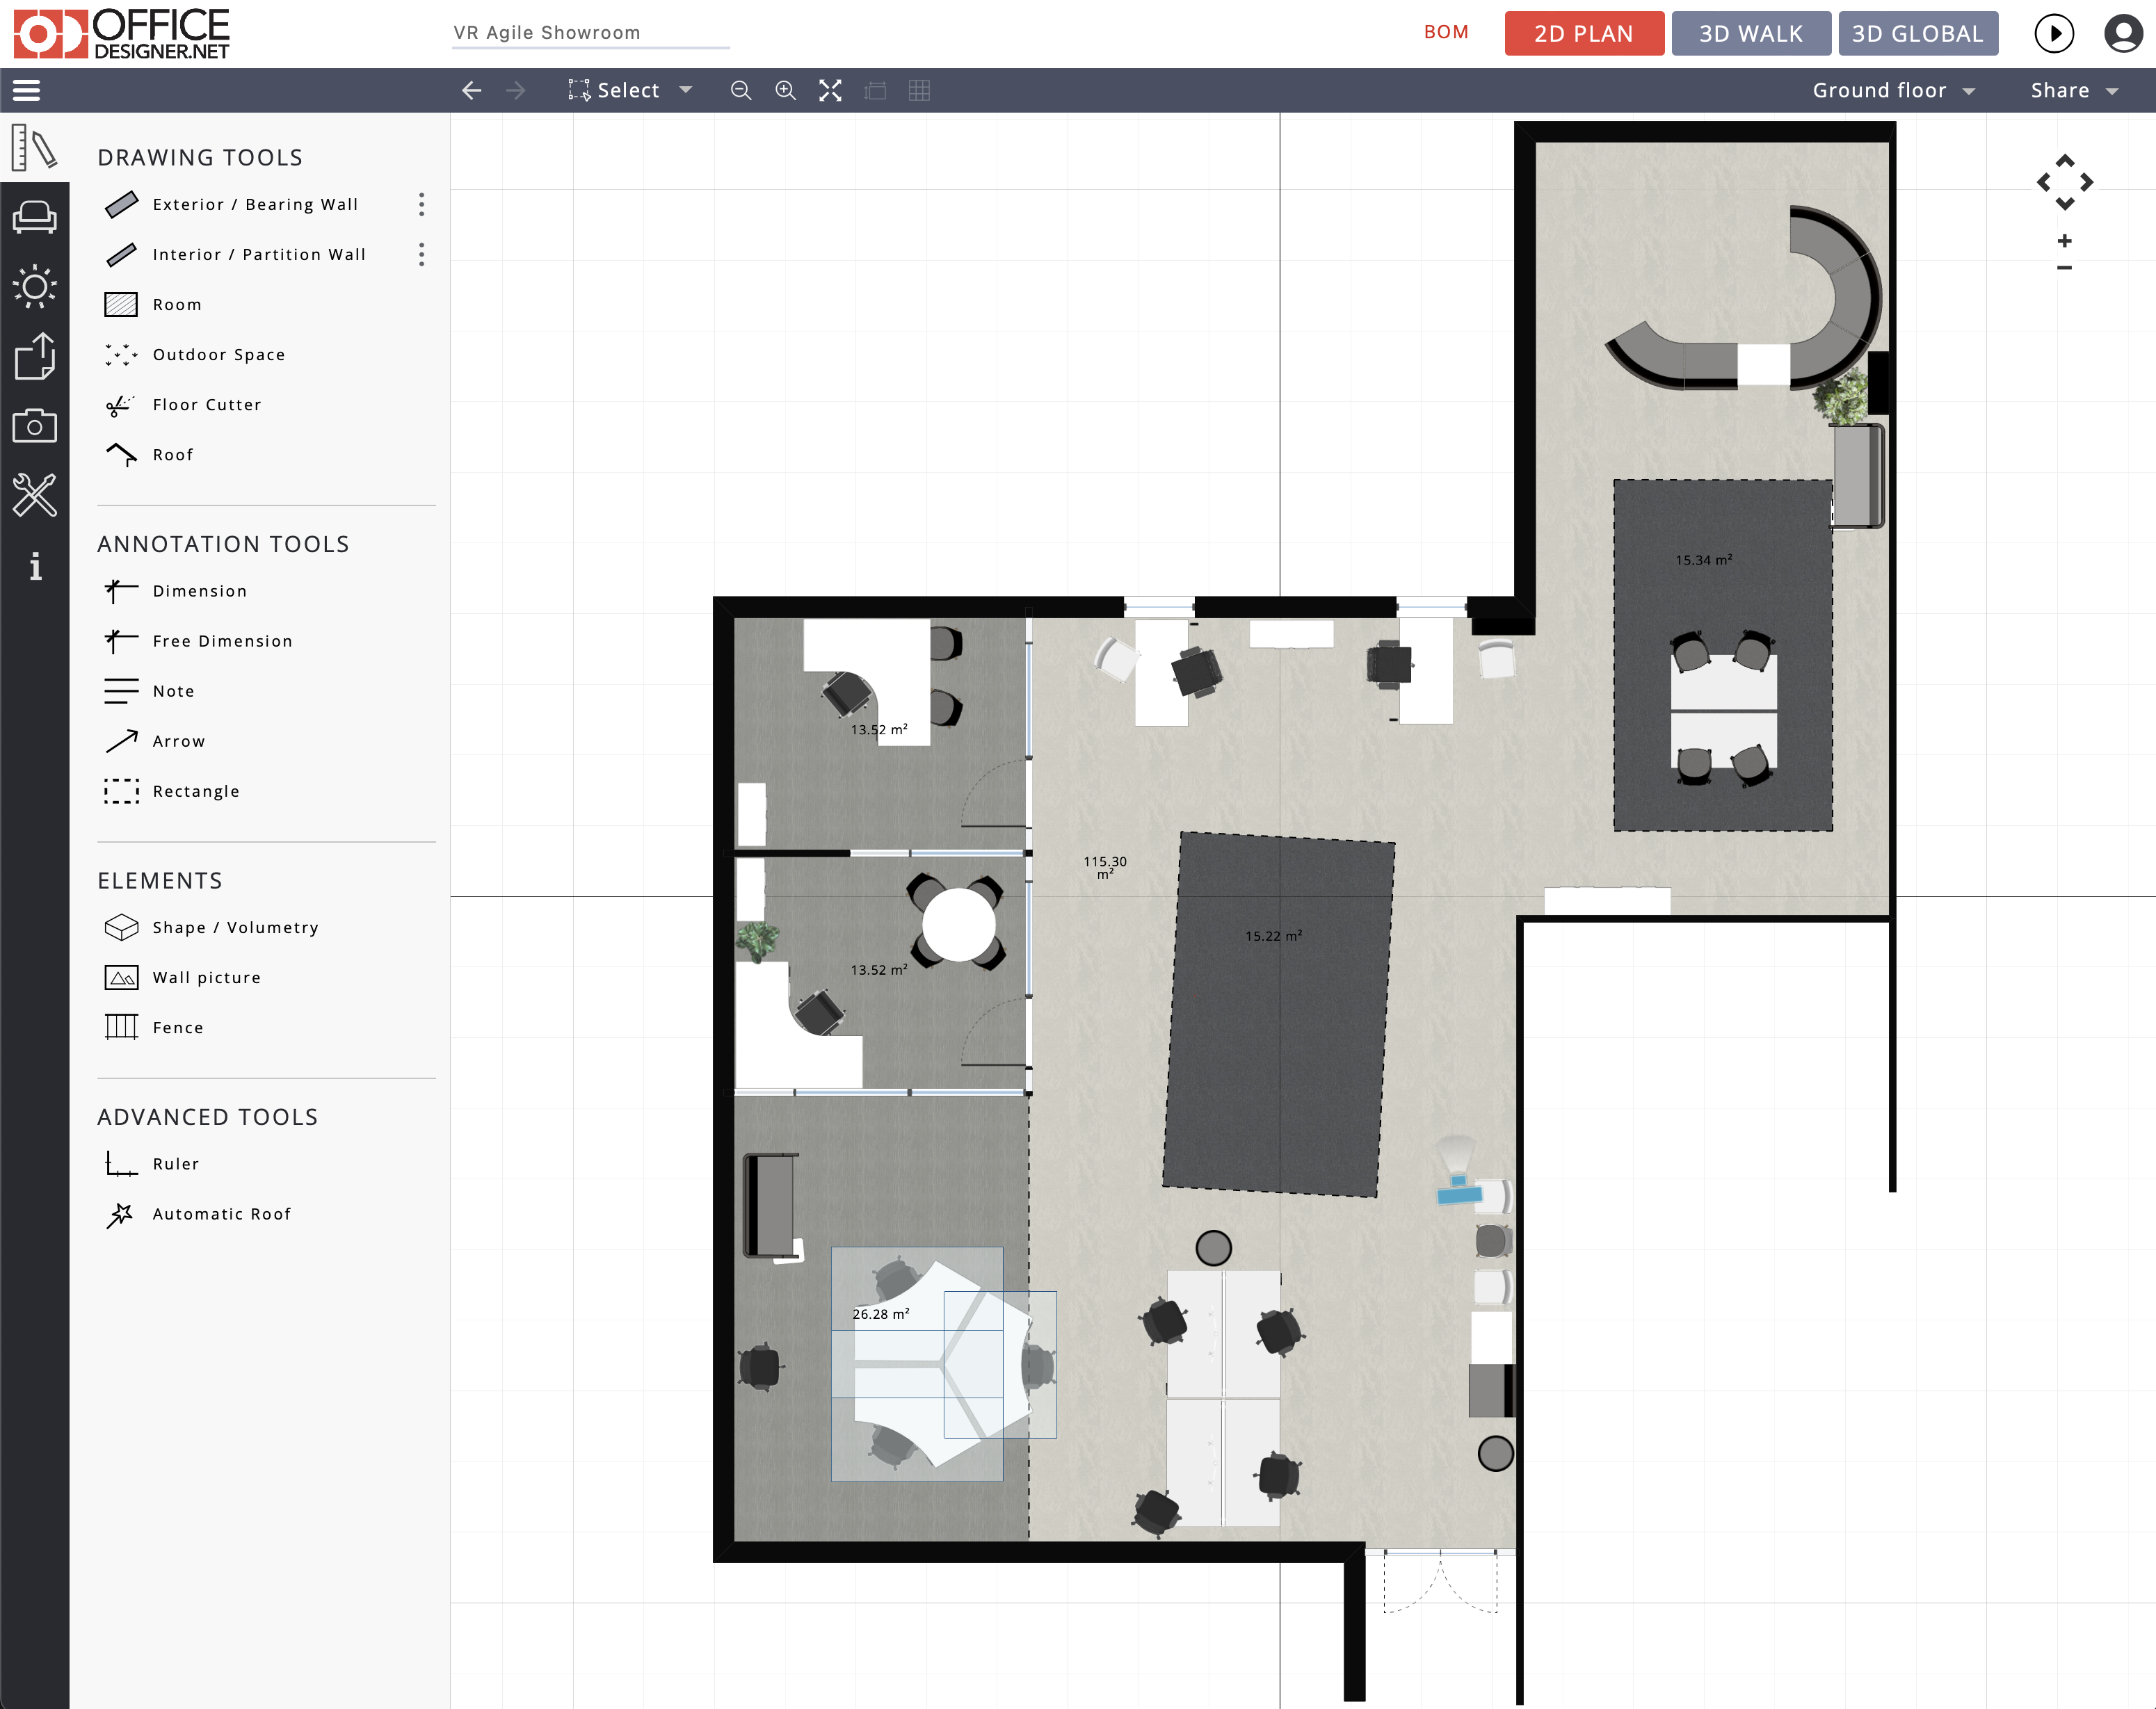
Choosing one of these options will load a two-dimensional floor plan featuring a specific range of office desks, chairs, boardrooms, meeting rooms, and breakout areas. These templates are pre-loaded with OLG products, all sized to scale with the correct dimensions of their real-world counterparts.
While these templates already have walls, partitions, and defined rooms, everything can be moved, resized, and adjusted to match your requirements.
Drawing a Floor Plan from Scratch
If none of the offered templates resembles the space you are planning for, you”ll need to open a blank page. Do this by clicking on “Start from Scratch”. From here, you can add both structural and partition walls. These can be drawn exactly to scale using the inbuilt ruler tools.
Once you’ve completed the floorplan boundaries, the next step is to furnish the space. Under the FURNISH tab, you can select non-furniture items like lighting, windows, doors, and stairs. This allows you to perform space-planning as well as visualise the impact of specific light sources. (An entire finance department peering into the afternoon sun won’t be too pleased about your west-facing office plan!)
It’s also under this tab that all the OLG office furniture is categorized and listed for use. Each product is designed exactly to scale and can be dragged and dropped onto your floor plan.
Upload an Existing Floor Plan
More often than not, you’ll have been given an empty floor plan, a headcount, and some basic instructions about what the office space should look like after the refurbishment.
To upload an existing floor plan, select “Start from Scratch” and click on the UPLOAD tab on the left-hand navigation window. Select your image file and then upload it as a background image. To match your floor plan’s scale, draw a reference line and then input the reference length. From within the Properties menu, you’re able to lock the image, change the image aspect, adjust opacity and much more.
Convert Your Floorplan into a 3D Render
Looking at a two-dimensional floor plan is great for working out the functionality of an office but it’s nothing compared to a 3D walkthrough of your virtual environment. Once you’ve finished laying out all the elements in Office Designer, there are two render options at the top that can give your design a brand-new perspective.
Clicking on “3D Global” will render your design into an overhead 3D view. This view can be rotated, panned, and zoomed to see from every angle.
Clicking on “3D WALK” will convert your design into a walkable 3D map. Fans of the old-school FPS games like Doom and Wolfenstein will have no trouble navigating.
Export Your Floorplan into a Quote Request
Once you’re happy with the way your floor plan works, there are several export options available.
Start by saving your floor plan via the floppy disk icon and choosing a project name. From here, you can share the design via Facebook, Twitter, or email.
If you’re ready to move forward with your design and want to place an order, click on the “BOM” link. This creates an itemized list in email, PDF or CSV file format that can be sent to our sales team for processing.
